Does your vehicle suffer from the following?
- Difficult starting
- Erratic or uneven tick-over or idle
- Lumpy running
- Hesitation on acceleration
- Smoke on tick over or acceleration
- Black “tar” around the injectors
- Chuffing sound from the engine when running
It could be suffering from Injector Blow-by or the “Black Death.”
Injector blow-by can be the cause of some of the above symptoms. It occurs when the injector does not seal against the injector seat in the cylinder head. Often a chuffing sound is heard, or black “tar” can be seen around the injectors. The engine could also experience one or more of the above symptoms. In some engine applications, severe engine damage could result if this continues because the ECU will overcompensate for the fuelling on the cylinder or cylinders with the seating problem resulting in overheating, piston wash, or cylinder fuelling unbalance.
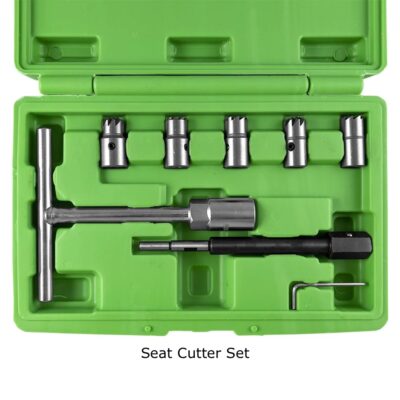
Even if the injector is removed, cleaned, and a new copper washer fitted and then replaced, it will not always rectify the problem. The seat in the cylinder head will have been eroded by the escaping combustion gases resulting in damage to the seat. The only way to reface the seat is to use a seat-cutting tool and gently reface the seat in the head.
The solution is refacing or cutting an injector seat.
Once the engine cowling and covers are removed, you could face a mess.

These injectors have been removed, but it did take some time. Still, we have found the most effective carbon remover, a product manufactured by Innotec called Turbo clean set. It has been suggested to help with the softening of carbon, oven cleaner, vinegar, Coca-cola, brake and carburettor cleaner can be used.
Top Tip:
Try to remove the injectors from a hot engine; the heat softens the carbon allowing for the removal.
Once the injectors are out, let the engine cool, allowing you to chip the hardened carbon and clean the surrounding area.
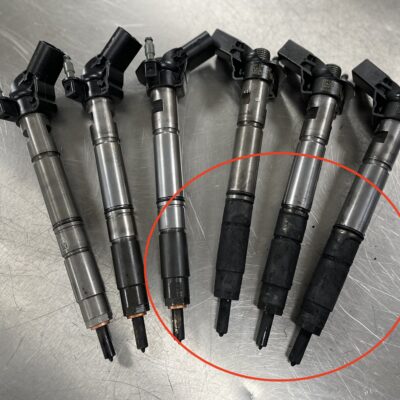
Above – Injectors that have suffered from blow-by notice the carbon on the body of the injectors.
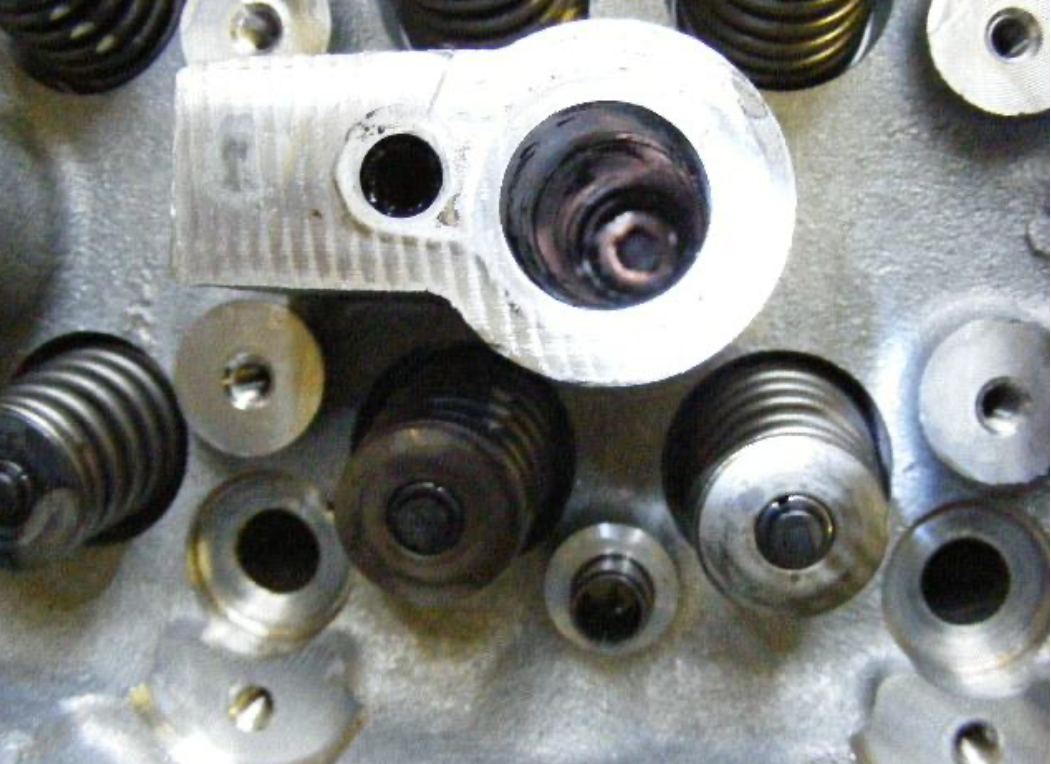
Below – The head has been removed; notice how the copper heat shield washer has been left behind; this will need to be removed so that the cylinder seat can be cleaned.
Once the injector/injectors are removed, the seat cutter is placed in the injector recess and, with a bit of downward pressure, rotated in a clockwise direction for a few revolutions. A small amount of lubricant, like WD40, sprayed on the teeth of the cutter will help to prevent the edge from chattering and causing a stepped cut rather than a nice clean finish.
Remove the seat cutter and use either compressed air or a vacuum cleaner to clean the recess and inspect the seat. Continue until you have a clean seat for the new copper washer to seal.
Refitting the injectors, leave the inlet plastic protective plugs on, remove the nozzle protective cap and using a small amount of the white ceramic grease, “paste” the copper washer onto the injector nozzle/cap nut. This ensures it does not fall off when you insert the injector into the injector recess.
Smear the injector body with a bit of white ceramic grease and place the injector into the recess, fit the injector clamp and tighten to specifications.
PLEASE DO NOT USE COPPER SLIP GREASE
Continue with the remaining injectors.
Once the engine fires do not over-rev; instead, let the engine tick over for a while.
Make a solution of dishwasher soap and water and whilst the vehicle is running, spray this solution around the injector to check for any more blow-by.